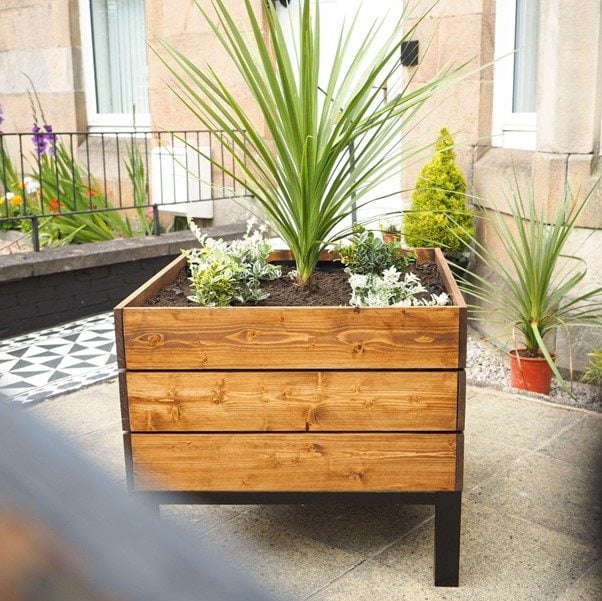
Large DIY Planter with Legs by Susie, Girl and a Drill
If you have an outdoor area that needs a little sprucing up, this planter is perfect for you!
With legs and drainage holes, this build is particularly perfect for patios, enabling you to add foliage where foliage has never gone before…
In this step-by-step guide, I’ll be using pocket holes to build the planter base. Don’t worry if you don’t have a pocket hole jig, you can still build it! Just use corner brackets instead. If you prefer to stain your timber before putting everything together, that’s totally possible too – I decided to do it at the end.
FINISHED PLANTER SIZE:
- Width: 800mm
- Depth: 800mm
- Height: 700mm
CUT LIST:
- 18mm x 144mm @ 764mm [6]
- 18mm x 144mm @ 800mm [6]
- 60mm x 60mm @ 250mm [4] (T)
- 38mm x 38mm @ 400mm [6] (T)
- 38mm x 63mm @ 680mm [6] (T)
- 22mm x 100mm @ 760mm [6] (T)
(T) = Pre-treated for exterior use
TOOLS:
MATERIALS:
- 50mm wood screws
- 2.5” pocket screws (or corner brackets)
- Exterior-grade wood stains – Black and Teak
- Heavy duty plastic sheet
- 120grit sandpaper
STEP 1
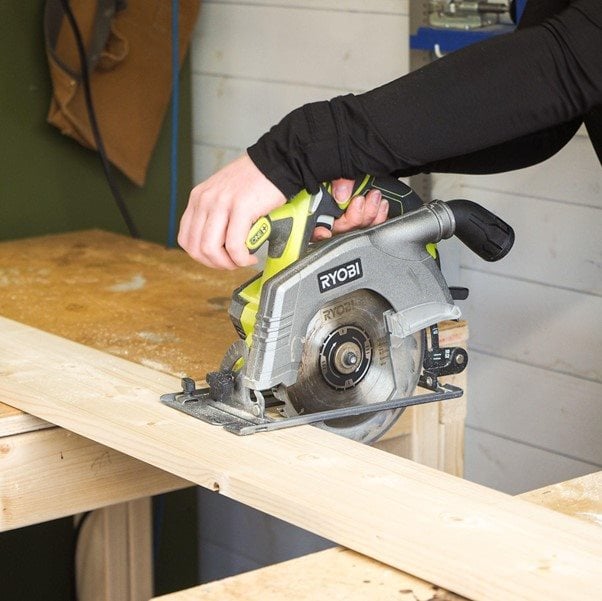
Start by making all the cuts in the cut list.
The main body of the planter is made up of four side panels – two long and two short.
STEP 2
Let’s start with a short side panel.
Lay three 18mm x 144mm @ 764mm pieces on a flat surface, leaving about 5mm space between each one to allow for any movement in the timber over time. TIP: Use a spacer to keep the spacing consistent – I used a scrap piece of plywood.
Grab two 38mm x 38mm @ 400mm pieces and position one at either side. Line the batons up along the bottom edge and clamp them down.
STEP 3
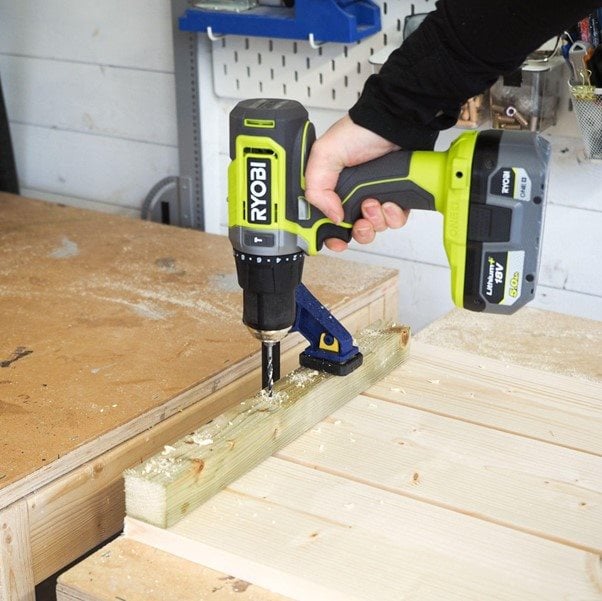
Drill six pilot holes (two per slat) into each baton, being careful not to go all the way through to the other side.
STEP 4
Drive wood screws into each pilot hole. This is one of the two short side panels of the planter box.
Repeat this process with the remaining three 18mm x 144mm @ 764mm pieces to make the other short side panel.
STEP 5
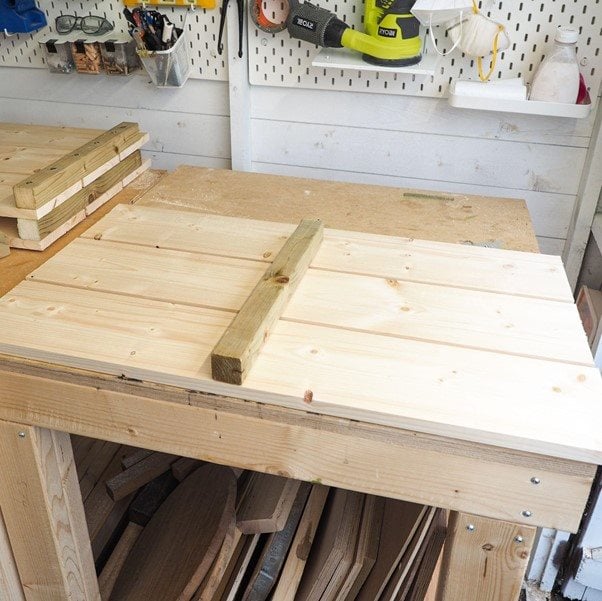
The process is very similar for the two long sides panels except, this time, use three 18mm x 144mm @ 800mm pieces and secure one 38mm x 38mm @ 400mm baton in the centre per panel, instead of two at either side.
Again, make sure the baton is aligned flush with the bottom edge and repeat for the remaining long side panel.
STEP 6
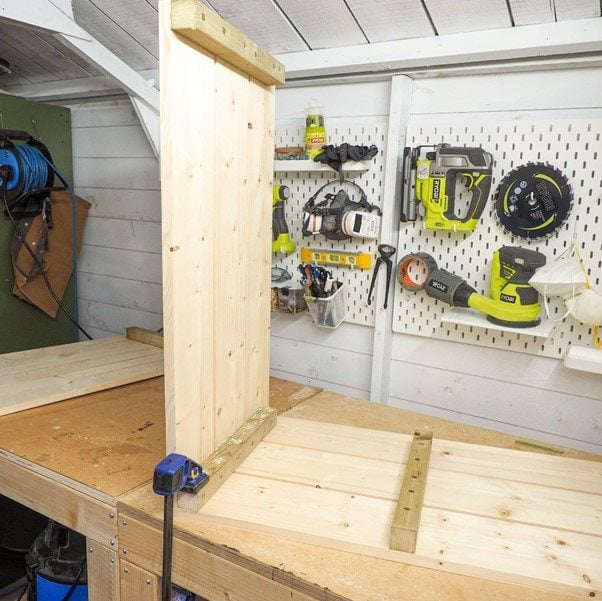
It’s time to attach all four side panels to make the planter box. Take one short and one long side panel and position them together at a right angle, making sure the bottom of the batons are aligned along the same edge – this will form the bottom of the planter box. Clamp the two side panels in place.
TIP: Use a woodworking square for an accurate 90° angle.
STEP 7
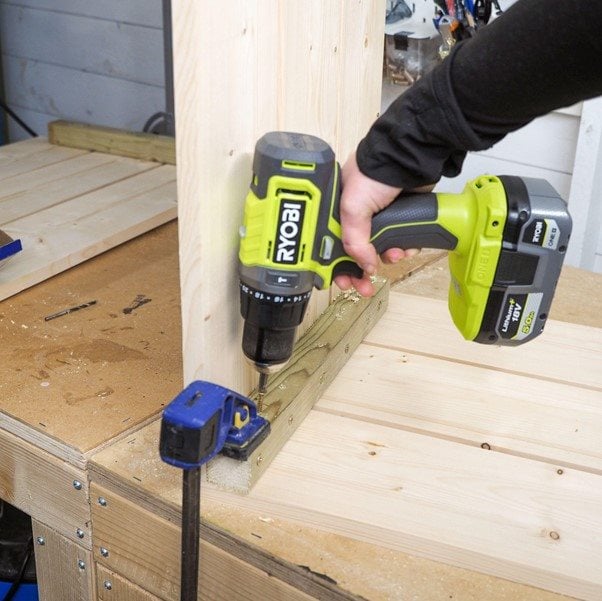
Pilot hole and screw the two side panels together.
Repeat the process with another short side panel at the other side.
STEP 8
Carefully flip the three attached panels round and securely attach the remaining long panel. You now have the main body of a planter!
STEP 9
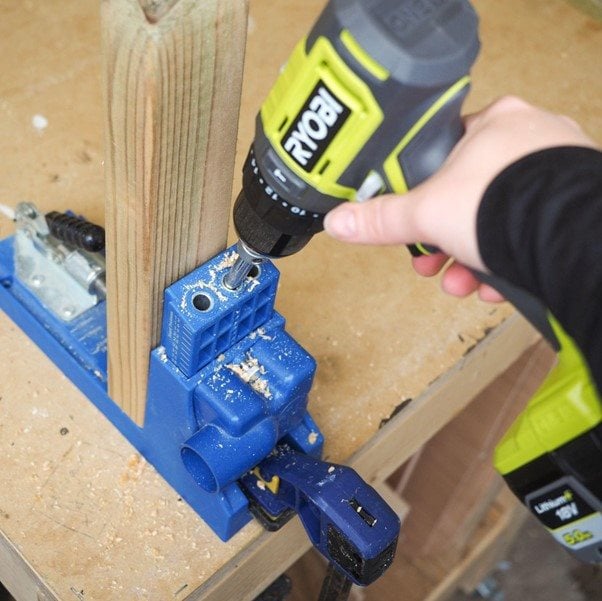
To build the base, drill two pocket holes on both ends of all six 38mm x 63mm @ 680mm pieces.
STEP 10
.jpg "DIYPlanter_img_14-(1).jpg")
Grab two 60mm x 60mm @ 250mm pieces and position them at either end of one 38mm x 63mm @ 680mm piece. Clamp together and secure with pocket screws.
STEP 11
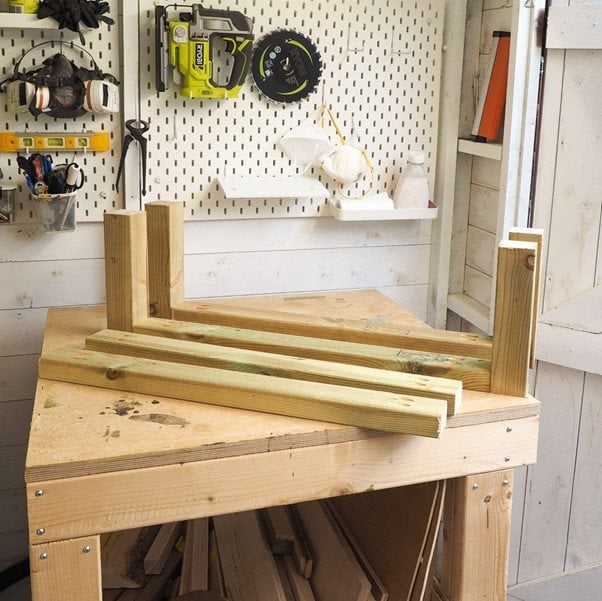
Repeat this process one more time. You now have half of the base built with legs!
STEP 12
Take another two 38mm x 63mm @ 680mm pieces, position them at a right angle against the legs and clamp them together. Secure with pocket screws, and repeat on the other side.
STEP 13
Position the remaining two 38mm x 63mm @ 680mm pieces inside the frame of the base and secure with pocket screws.
You now have a base with legs for your planter box!
STEP 14
Now it’s time to add some colour. Give the base a light sand using 120grit sandpaper and apply black exterior grade wood stain, following instructions on the product packaging.
STEP 15
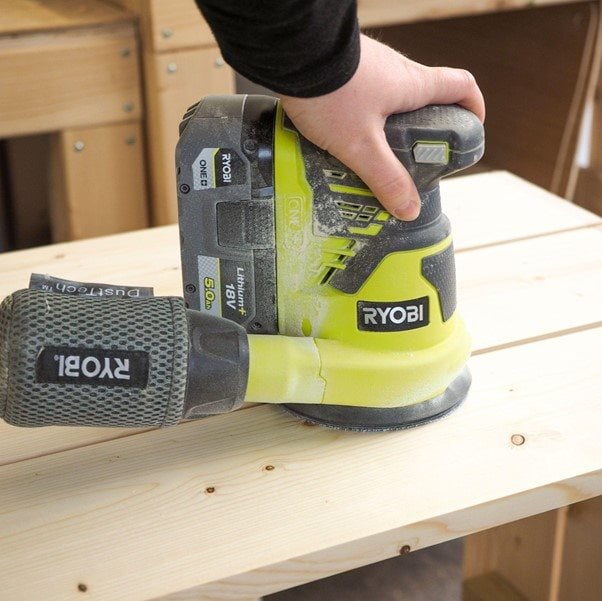
While the base is drying, give the planter box a light sand.
STEP 16
Apply exterior grade wood stain, being sure to coat between the slats (skip this step if you pre-stained the side panels!)
TIP: I sealed the bottom ⅔ of the inside using an old, clear varnish that otherwise wouldn’t have been used in my workshop – this part of the planter won’t be seen, and it means I’ve saved some of the more expensive wood stain for other projects!
STEP 17

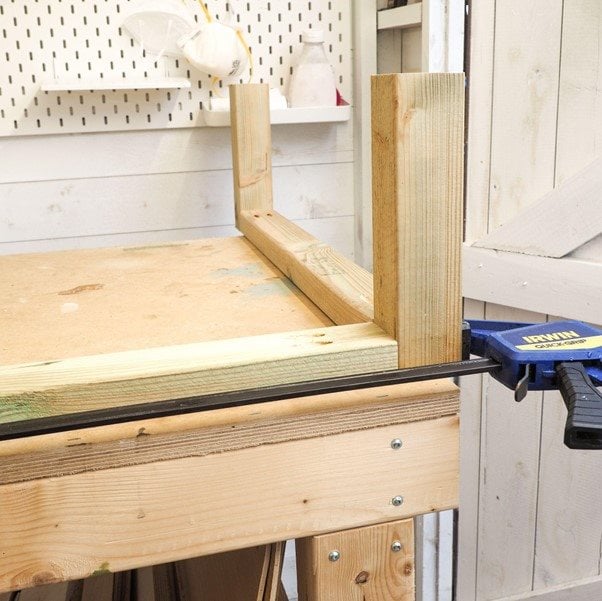
When everything is dry, position the planter box bottom-up on a flat surface. You may want to ask for a second set of hands to help with this.
Place the base on top and clamp in place. Pilot hole and secure with screws.
STEP 18

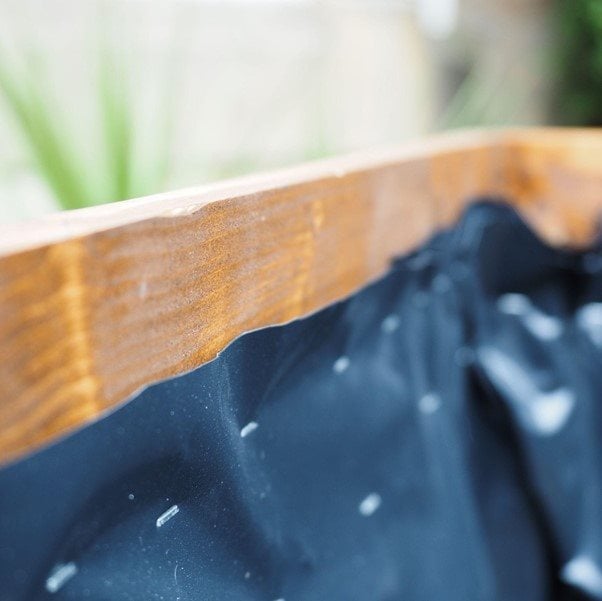
Flip the planter over so that it’s standing on its legs. Place all six 22mm x 100mm @ 760mm pieces in the bottom, leaving some space in between each one. This will allow for movement in the timber but it also serves an important purpose as drainage, which will be demonstrated later.
STEP 19
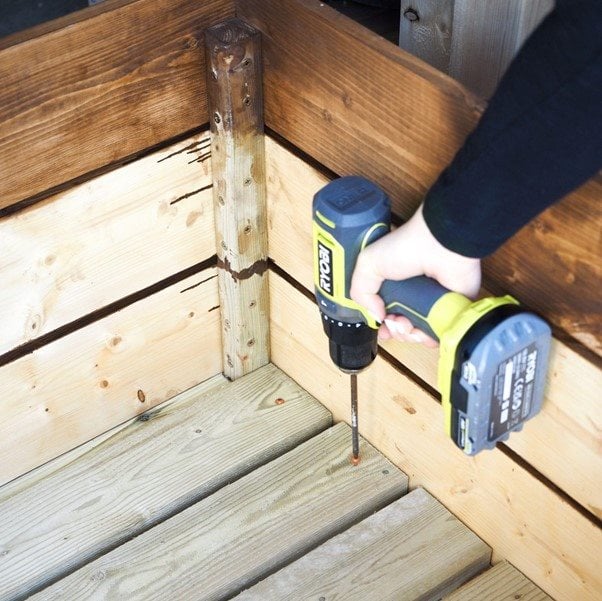
Pilot hole and secure each of the pieces with screws.
STEP 20
Line the inside of the planter with the heavy duty plastic sheet. Smooth it out against the insides as best you can – it doesn’t have to be perfect!
STEP 21
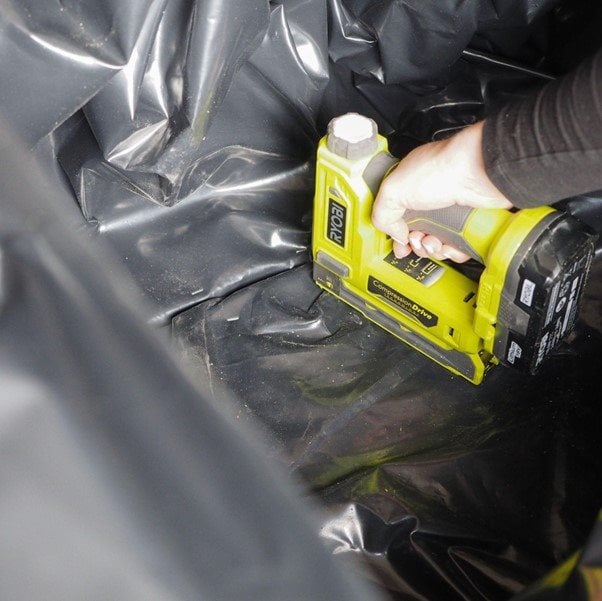
Now for the drainage! Push the plastic through three gaps in the bottom of the planter, making sure it protrudes out of the bottom. Cut a line in the plastic and staple in place around the gap.
STEP 22
Staple the plastic sheet to the inside of the planter, 2-3” from the top. Trim away any excess.
Make sure the planter is positioned where you want it (it’s about to get very heavy!), then fill it with soil and a selection of your favourite plants!
Don't forget to tag us in your DIY projects on @RYOBIToolsEU!